
Appearance
Tutorial: Your First Multiplayer Scene
This tutorial constructs a minimal custom multiplayer scene. Refer to the showcase prefabs while configuring it: their serialized references make the required inspector relationships explicit.
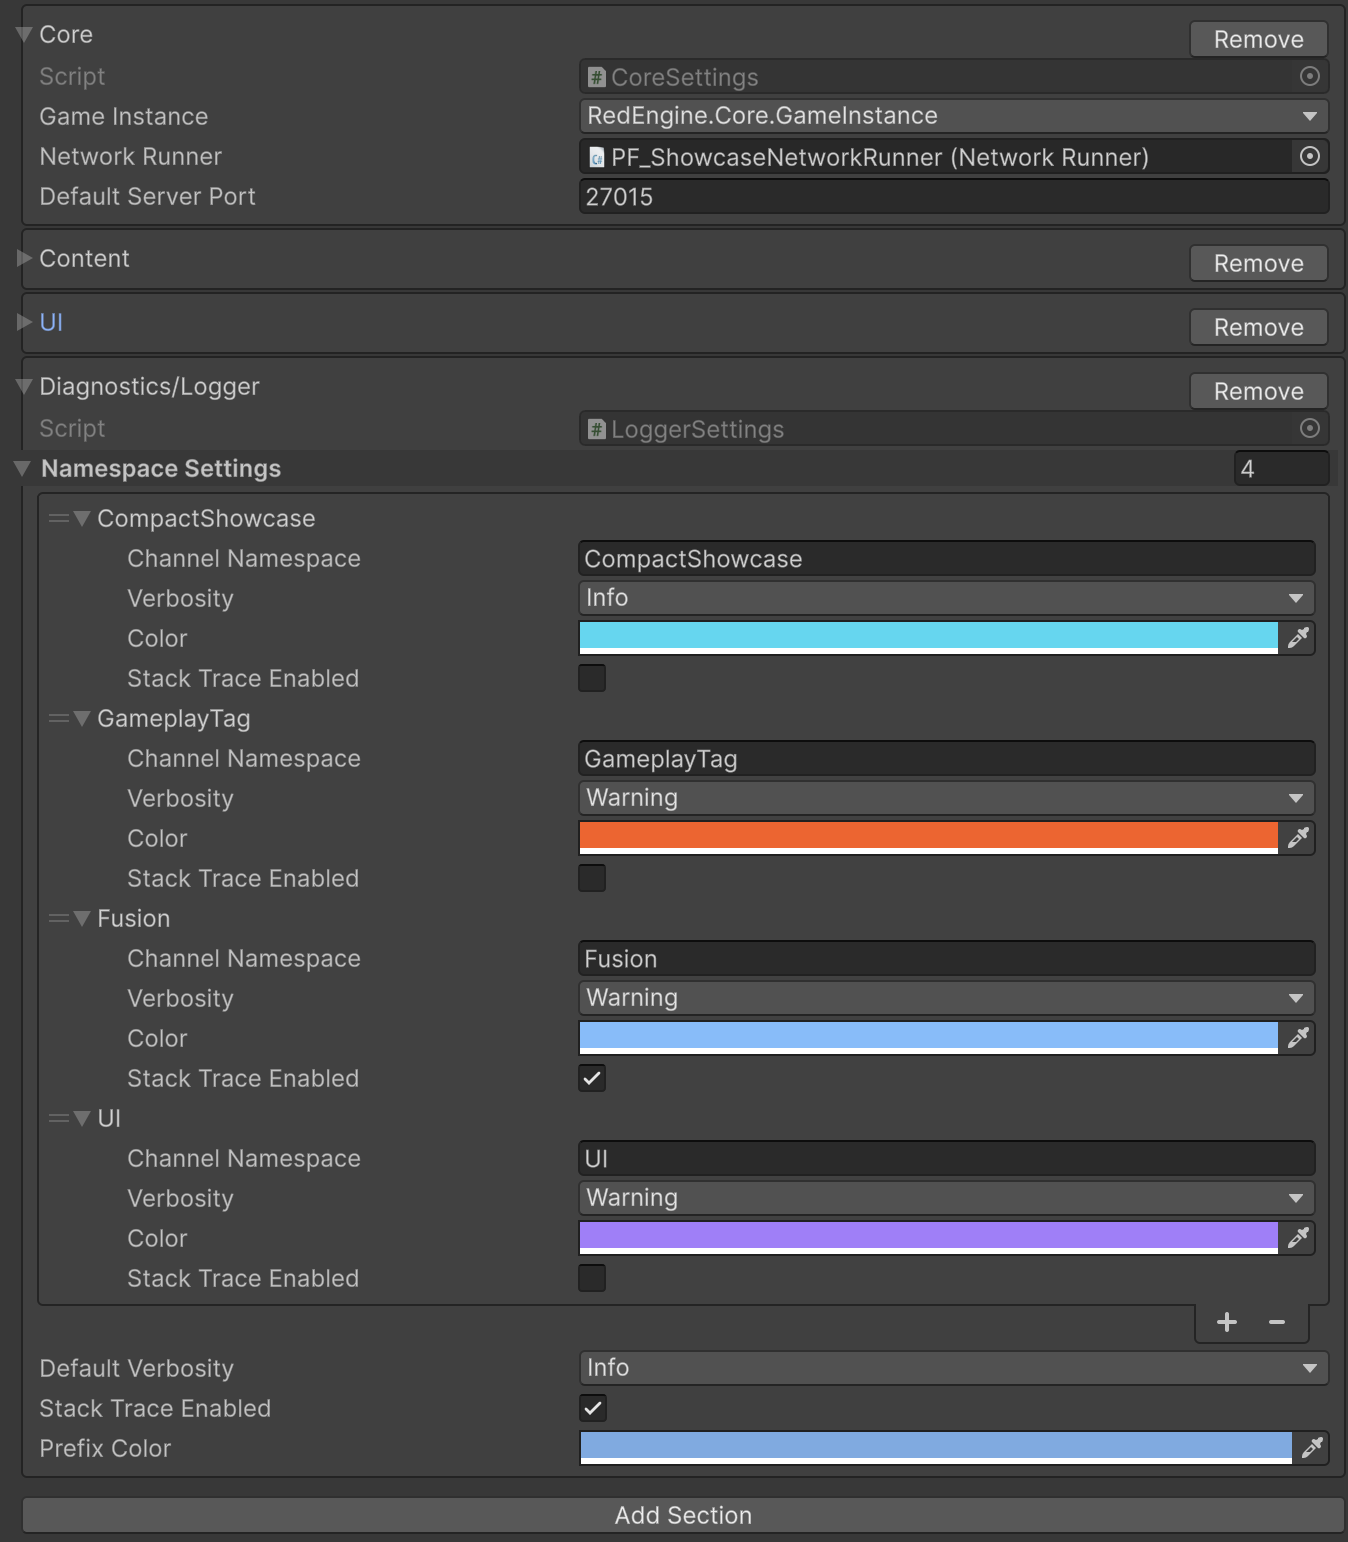
1. Create the global settings
Create Assets > Create > RedEngine > Configuration and keep the asset at Assets/Resources/EngineSettings.asset. Select it, press Add Section, and add Core. In that section assign:
- a prefab containing
NetworkRunner; - the default game scene;
- the server scene, if it differs;
- the default server port, if your connection flow uses one.
Do not add Fusion's NetworkSceneManagerDefault to the runner prefab. GameInstance supplies RedEngine's scene manager.
2. Add a game mode
Create a prefab with:
NetworkObject;- your
GameModeBasesubclass; - its player-controller and default-character prefab assignments.
Place one instance of that game mode prefab in the gameplay scene. The server looks for the scene's game mode when the world initializes; a separate WorldSettings component is not required.
csharp
using RedEngine.Core;

public sealed class ArenaGameMode : GameModeBase
{
    public override void Spawned()
    {
        base.Spawned();
        // Initialize authoritative match rules here.
    }
}
The complete admission, spawn, match-state, and respawn extension points are covered in Manual: GameMode.
3. Prepare player prefabs
The game mode needs a player controller and a character. Any spawnable network actor needs a NetworkObject, and network behaviors should derive from RedEngine's actor/component types where the framework owns their lifecycle. Register these prefabs in Fusion's network project configuration.
Initially, duplicate the corresponding showcase prefabs and remove unnecessary features. This preserves a working hierarchy while you customize movement, visuals, and abilities.
4. Add input
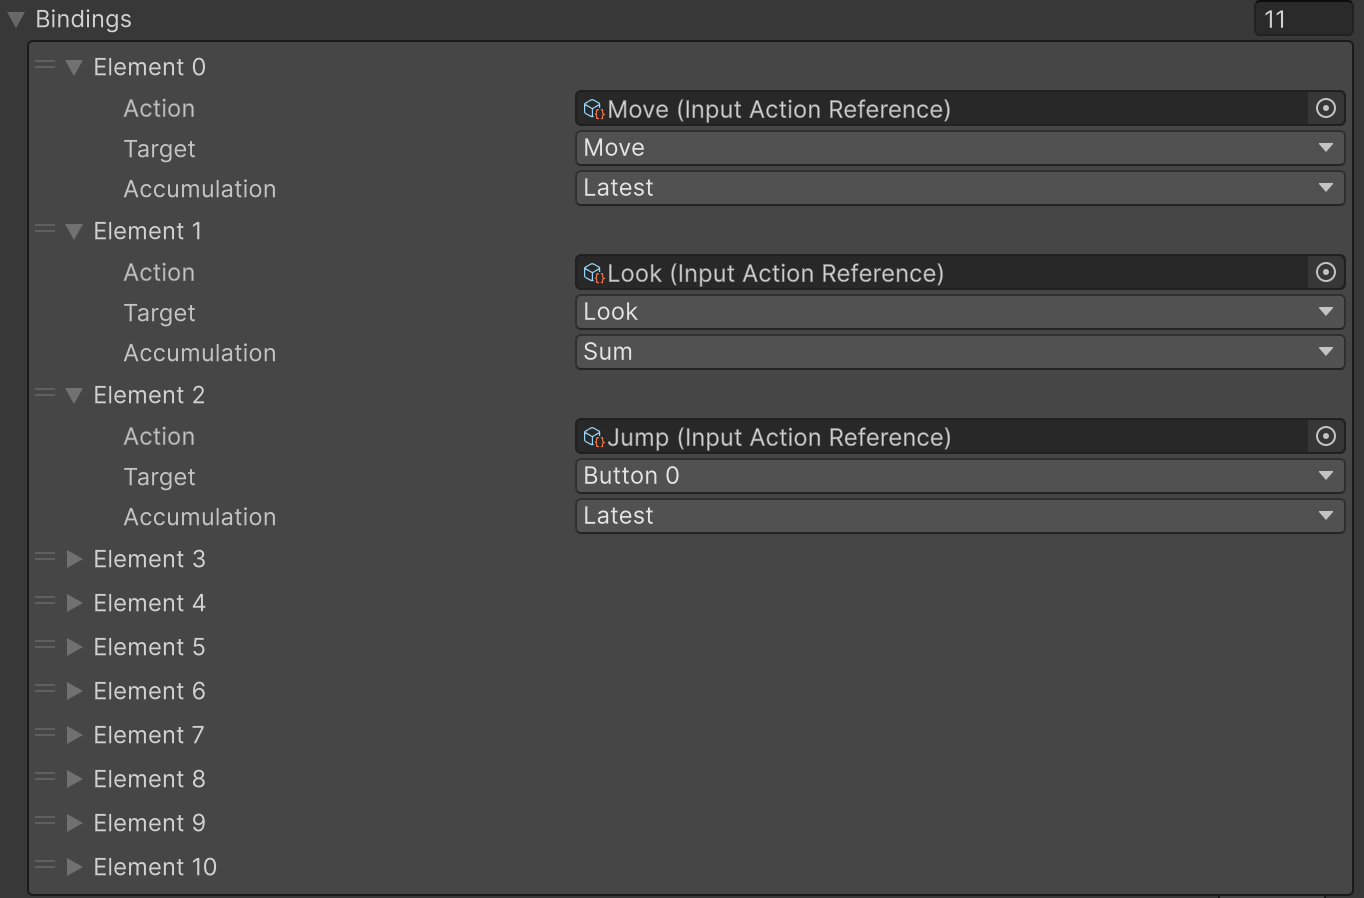
- Create a Unity Input Actions asset.
- Create Assets > Create > Red Engine > Input > Input Settings.
- Map actions to
Move,Look,Primary,Secondary, orButton0…Button31. - Create an
InputContextand route channel/trigger pairs to component methods. - Add the appropriate RedEngine input component to the player controller.
Handlers are explicit:
csharp
using RedEngine.Core.Input;
using UnityEngine;

public sealed class HeroInput : MonoBehaviour
{
    [InputHandler]
    public void Move(Vector2 value) { }

    [InputHandler]
    public void Jump() { }
}
Use Started for the press edge, Triggered while held, Ongoing after the first held tick, and Completed/Canceled for release. RedEngine keeps a separate Input Actions instance for each local peer.
5. Make the scene runnable
Add the gameplay scene to the active Build Profile and assign it in CoreSettings. Confirm every spawnable prefab is registered with Fusion. Then enter Play Mode with one peer first.
Once one peer spawns correctly, enable Fusion Multi-Peer and verify two peers. Confirm both input paths before adding inventory, abilities, or weapons; this baseline makes subsequent failures easier to isolate.
6. Add one feature at a time
A practical order is:
- movement and camera;
- one gameplay ability;
- one replicated attribute such as Health;
- one interactable pickup;
- inventory and equipment;
- player UI;
- diagnostics and developer commands.
Before opening a complete system guide, pick a focused task from Recipes. Each recipe adds one feature and includes a multiplayer check.